
Skin tags can be an annoying little skin condition that many of us will experience at some point. But what exactly are skin tags, and why do they appear? More importantly, is it safe to remove them yourself? Let’s dive in and explore how you can safely and effectively remove skin tags at home.
Understanding Skin Tags
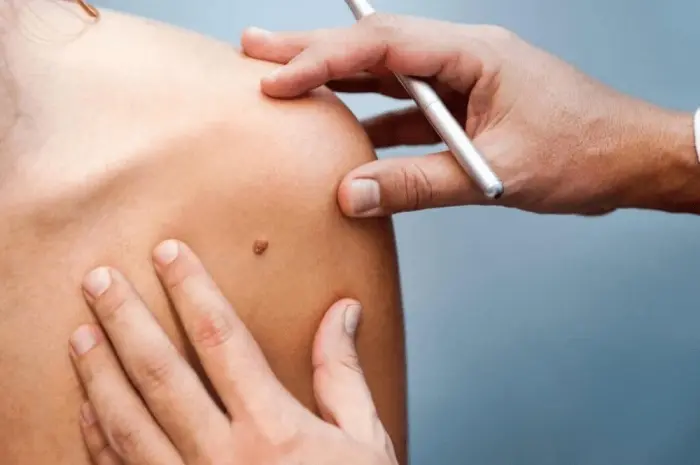
Anatomy of a Skin Tag
A skin tag, scientifically known as acrochordon, is a small, soft, benign growth that typically hangs off the skin by a thin stalk. They are made up of collagen fibers, blood vessels, and sometimes fat cells.
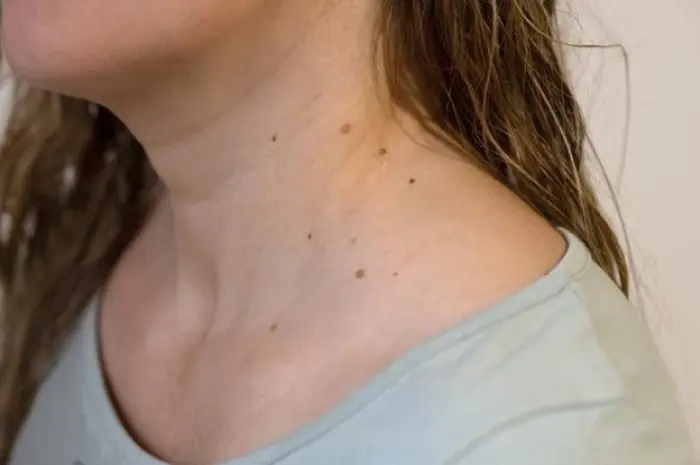
Common Areas Where Skin Tags Appear
Skin tags commonly appear in areas where the skin folds or creases, such as the neck, armpits, groin, and under the breasts. They can also appear on the eyelids or other parts of the body.
Skin Tags vs. Other Skin Growths
It’s crucial to distinguish skin tags from other skin growths like moles, warts, or other benign lesions. Skin tags are usually painless and harmless, but if you notice any changes in their appearance, it’s best to consult a healthcare professional.
Preparation for Removal
When to See a Doctor
Before attempting to remove a skin tag, it’s important to make sure it is indeed a skin tag. If you’re unsure, or if the skin tag is in a sensitive area, consult with a healthcare provider.
Precautions Before Removal
Ensure the area is clean to avoid infections. Use sterilized tools and wash your hands thoroughly.
Tools You Will Need
Depending on the method you choose, you might need:
- Sterilized scissors or nail clippers
- Dental floss or thread
- Over-the-counter skin tag removal creams
- Antiseptic wipes
Methods to Remove Skin Tags
Over-the-Counter Solutions
Skin Tag Removal Creams
There are various creams available that can dry out skin tags, causing them to fall off over time. Follow the instructions on the package for best results.
Skin Tag Removal Devices
Some devices are designed to freeze or burn off skin tags. These devices are similar to those used by dermatologists but are available for home use.
Home Remedies
Apple Cider Vinegar
Soak a cotton ball in apple cider vinegar and apply it to the skin tag. Cover with a bandage and leave it on for 15-30 minutes. Repeat daily until the skin tag falls off.
Tea Tree Oil
Apply a few drops of tea tree oil to a cotton ball and secure it over the skin tag with a bandage. Leave it on overnight and repeat daily until the skin tag dries up and falls off.
Baking Soda and Castor Oil
Mix baking soda and castor oil into a paste and apply it to the skin tag. Cover with a bandage and leave it on overnight. Repeat until the skin tag disappears.
Physical Removal Techniques
Cutting with Scissors or Nail Clippers
This method involves snipping off the skin tag with sterilized scissors or nail clippers. It’s important to disinfect the tools and the area thoroughly to prevent infection.
Using Dental Floss or Thread
Tie a piece of dental floss or thread tightly around the base of the skin tag. This cuts off the blood supply, causing the skin tag to dry up and fall off.
Step-by-Step Guide to Removing Skin Tags
Using Over-the-Counter Solutions
- Clean the area and ensure it is dry.
- Apply the cream or use the device as per the instructions.
- Wait for the skin tag to dry up and fall off.
Applying Home Remedies
- Choose your preferred remedy (apple cider vinegar, tea tree oil, or baking soda and castor oil).
- Apply the remedy to the skin tag as described.
- Repeat the application daily until the skin tag is gone.
Performing Physical Removal
- Clean and sterilize the area and your tools.
- If cutting, snip the skin tag quickly and apply antiseptic.
- If using dental floss, tie it tightly around the base and wait for the tag to fall off.
Aftercare
How to Care for the Area After Removal
Keep the area clean and apply an antiseptic ointment. Cover it with a bandage to protect it from dirt and bacteria.
Signs of Infection to Watch For
Look out for redness, swelling, or pus. If you notice any of these signs, seek medical advice.
Healing Process
The area where the skin tag was removed will typically heal within a few days to a week. Keep it clean and dry during this time.
Potential Risks and Complications
Possible Side Effects of Skin Tag Removal
These can include minor bleeding, infection, and scarring. Always follow proper hygiene practices to minimize risks.
How to Avoid Common Mistakes
Ensure you correctly identify the skin tag and use sterilized tools. Avoid removing skin tags that are large or in sensitive areas.
When to Seek Professional Help
Identifying Unusual Skin Growths
If the growth looks unusual or changes in color or size, consult a dermatologist to rule out other skin conditions.
When Home Removal Fails
If home methods are ineffective or the skin tag persists, professional removal might be necessary.
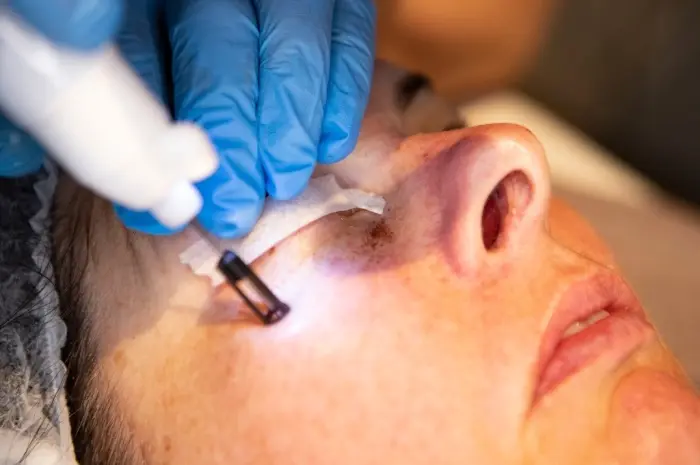
Professional Removal Options
Dermatologists can remove skin tags using methods such as cryotherapy, cauterization, or surgical excision.
Preventing Skin Tags in the Future
Lifestyle Changes
Maintain a healthy weight and avoid skin friction by wearing loose clothing.
Skincare Tips
Keep your skin clean and moisturized. Avoid using harsh chemicals that can irritate the skin.
Regular Check-Ups
Regularly check your skin for new growths and seek medical advice if you notice any changes.
Conclusion
Removing skin tags yourself can be safe and effective if done correctly. Always ensure you’re using the right methods and tools, and seek professional advice when in doubt. With proper care, you can manage and prevent skin tags, keeping your skin healthy and clear.